An Introduction to Wired Tethered Shooting with Lightroom Classic


This practical guide will help you start utilising the live tethering photo capture feature in Lightroom Classic. Use it as a reference of sequential steps to take when you prepare, catalogue, take photos from your connected computer and backup images whilst on location.
Sections
• Advantages of Shooting Tethered
• Equipment I use to Tether Capture
• Setting Up Lightroom Classic to Shoot Tethered
• Shooting Tethered
• Backing Up on Location
Advantages of Shooting Tethered
1) Ability to check composition and framing with Live View on a larger screen.
2) Ability to take photos from the computer, many metres away from cthe camera.
3) Files are imported directly onto a computer or external hard drive.
4) Rate, tag and compare photos (with client) whilst away from the shooting area.
5) Apply modifications to photos with the Develop Module.
Equipment
I use Tether Tools' 4.6m USB cable, connecting it from the dslr's usb side port to the Macbook. Tether Tool's website have a list of which cable fits most camera models.
I also use a JerkStopper - which does not do what you're thinking. If someone trips over the orange cable, the connection on the laptop end can 'jerk' cable out of the laptop USB connecting port.
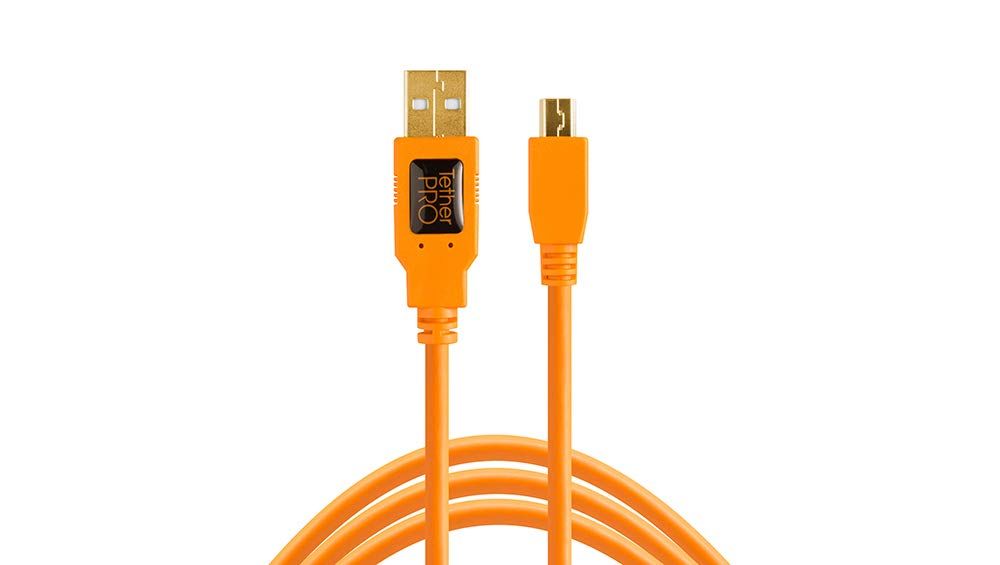
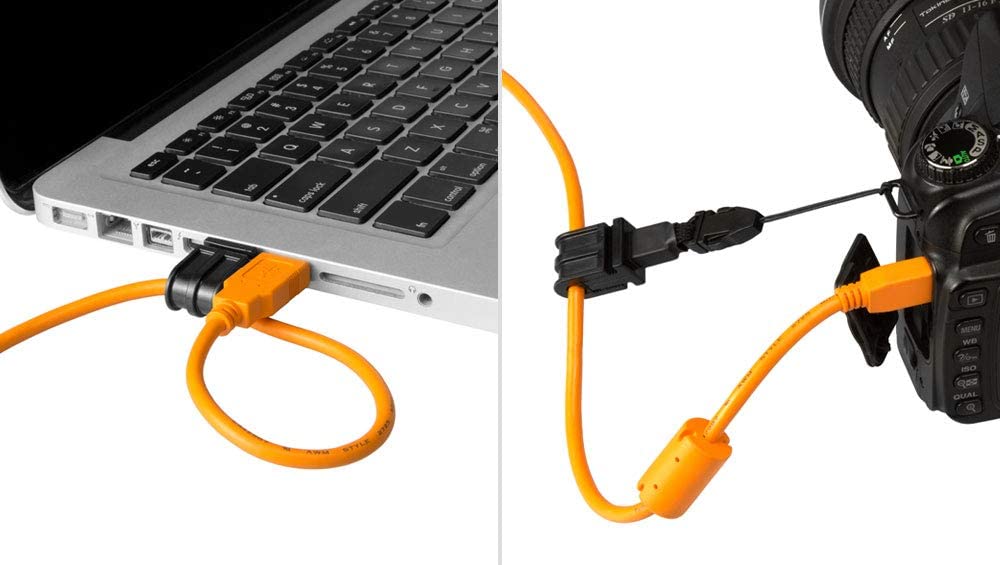
This stops the cable from being pulled out of the port, which sometimes occurs during a busy shooting session with many people involved. Be sure to check your cameras' ports as Tether Tools sell USB 2.0 cables and the more modern USB-C cables. Tether Tools also make 5 metre extension cables. There are cheaper cables, but they will slow down transfer speeds.
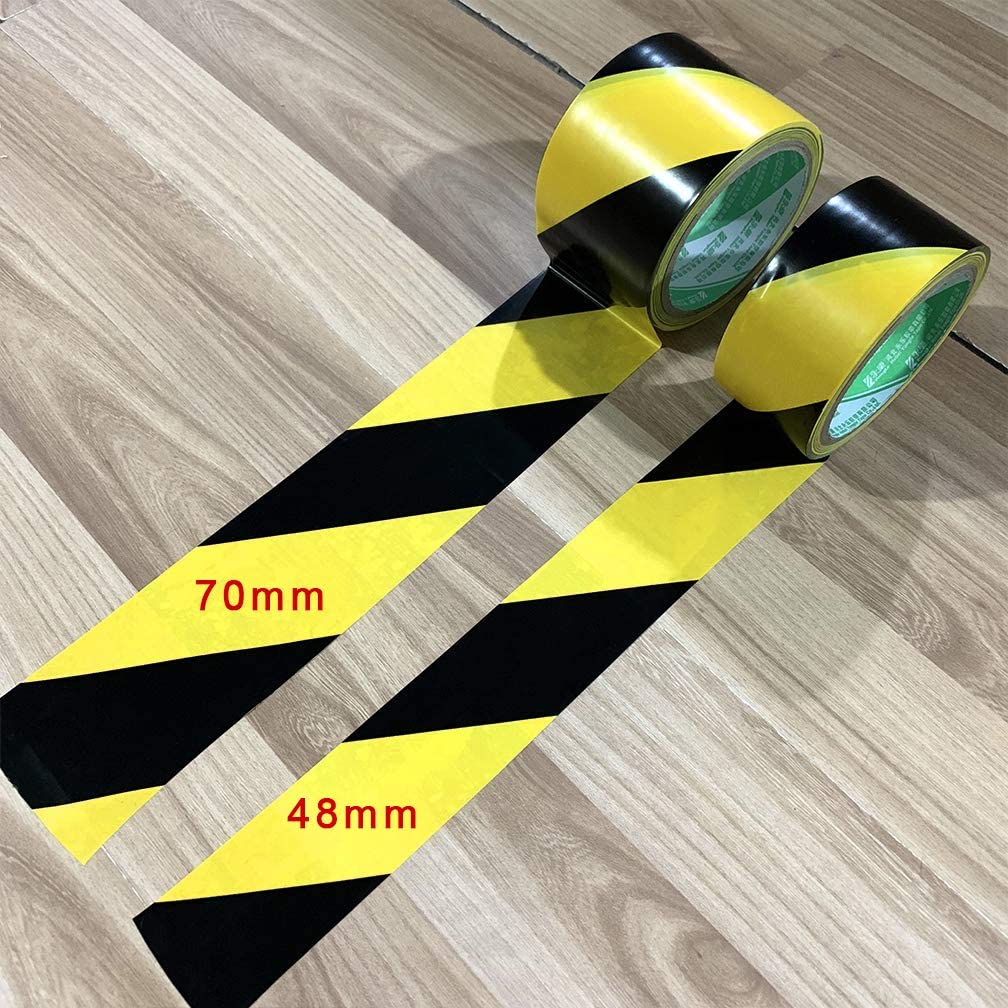
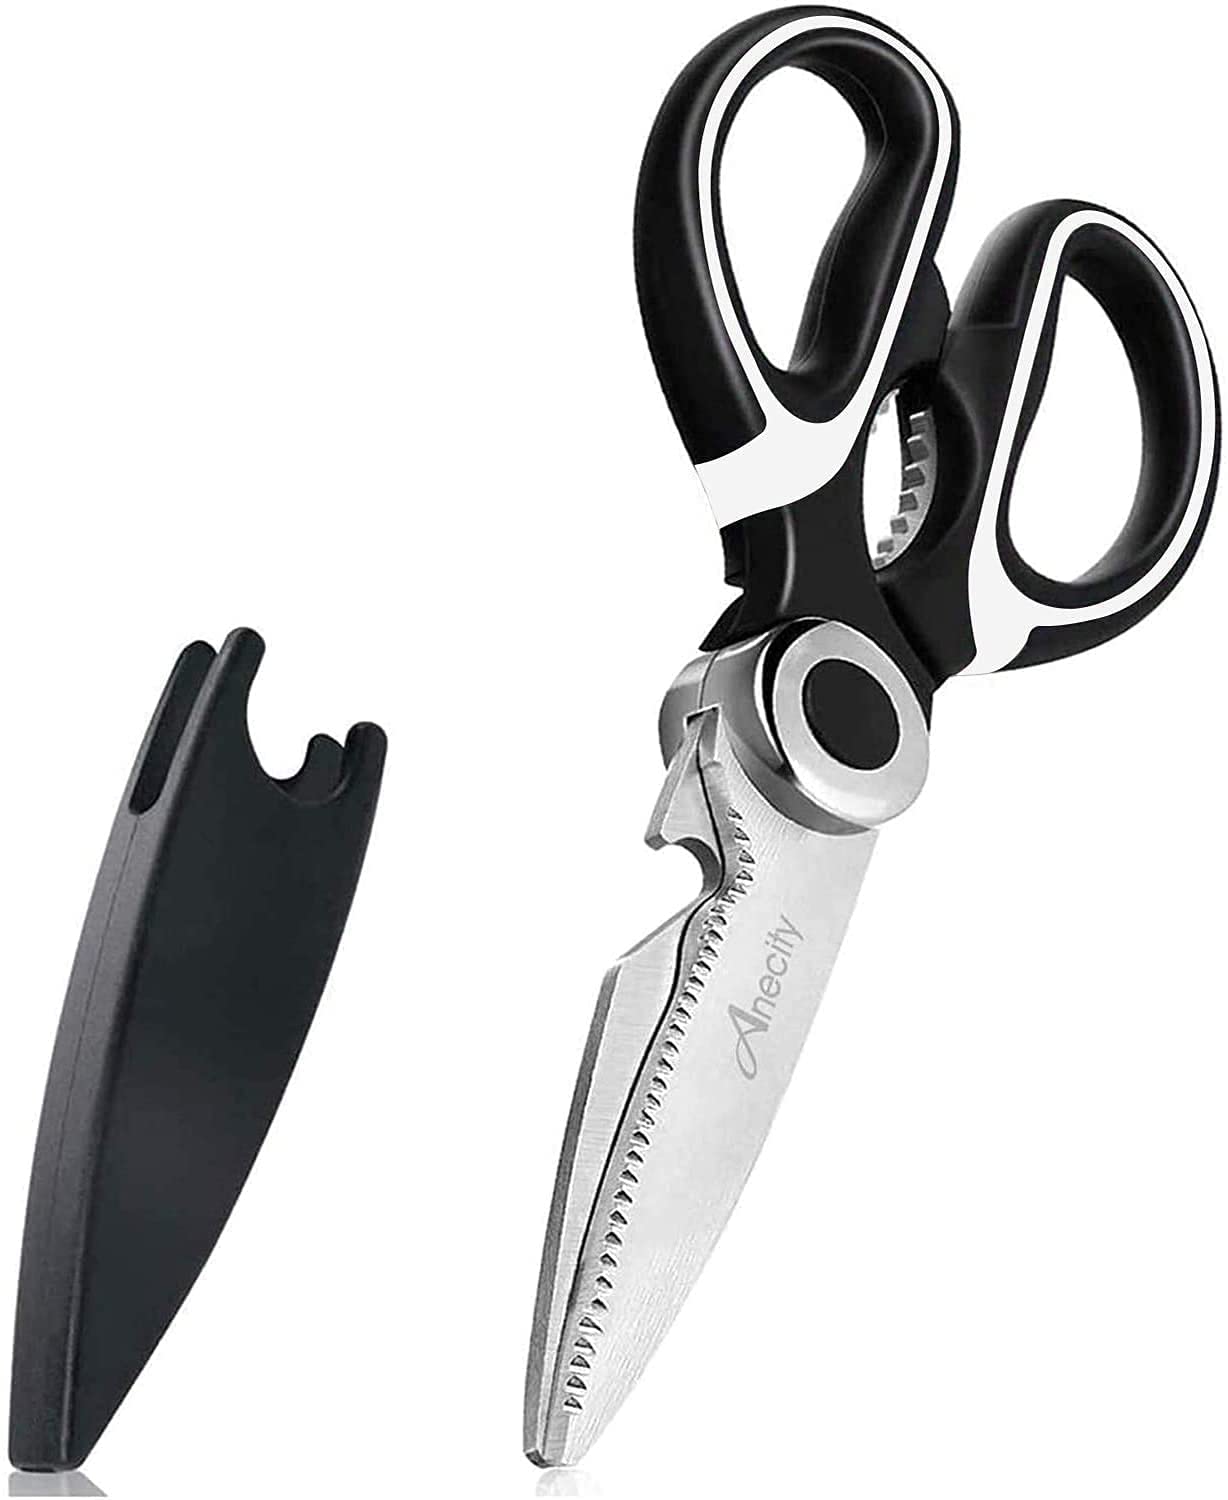
Clearly define your shooting area. I use a roll of black and yellow tape when shooting tethered outdoors near buildings. I place masking tape to guide each talent where to stand. A heavy duty pair of scissors is also handy to keep in your kit bags.

The visual cue helps in busy office environments during a corporate head-shoot. It will make you appear more conscientious, professional and less likely the camera and tripod will be moved unexpectedly.
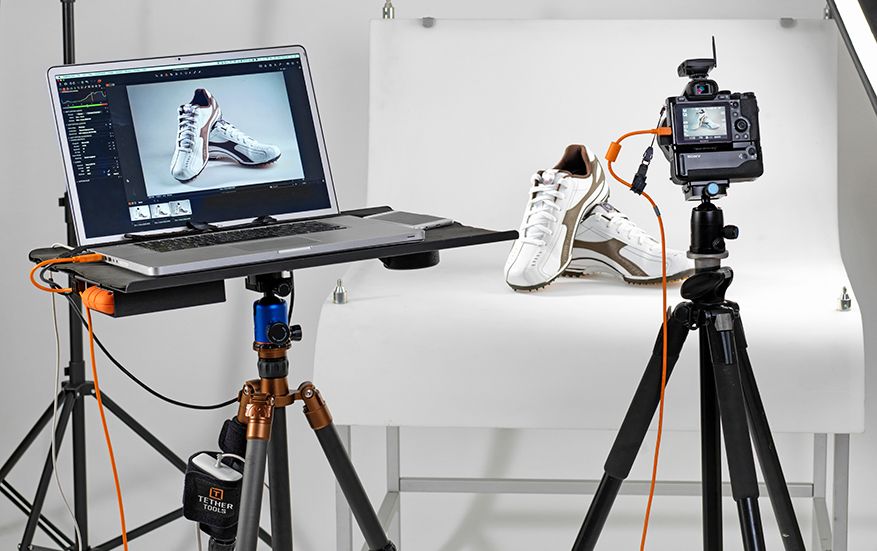
Once the lighting and shooting space is set up I then boot up the laptop, connect the orange cable to the camera which is fixed onto a Manfrotto tripod with the XPRO Ball Head for corporate shoots.
You do not need a tripod to tether capture and for some free style shoots, such as high fashion, you may find it unnecessary.
Tethering will quicken your workflow if image file rating, fast editing and file transfer is needed. Think sports stadium photography.
With the camera switched on and connected into your machine, it's time to open Lightroom Classic on your computer.
Setting up Lightroom Classic to Tether
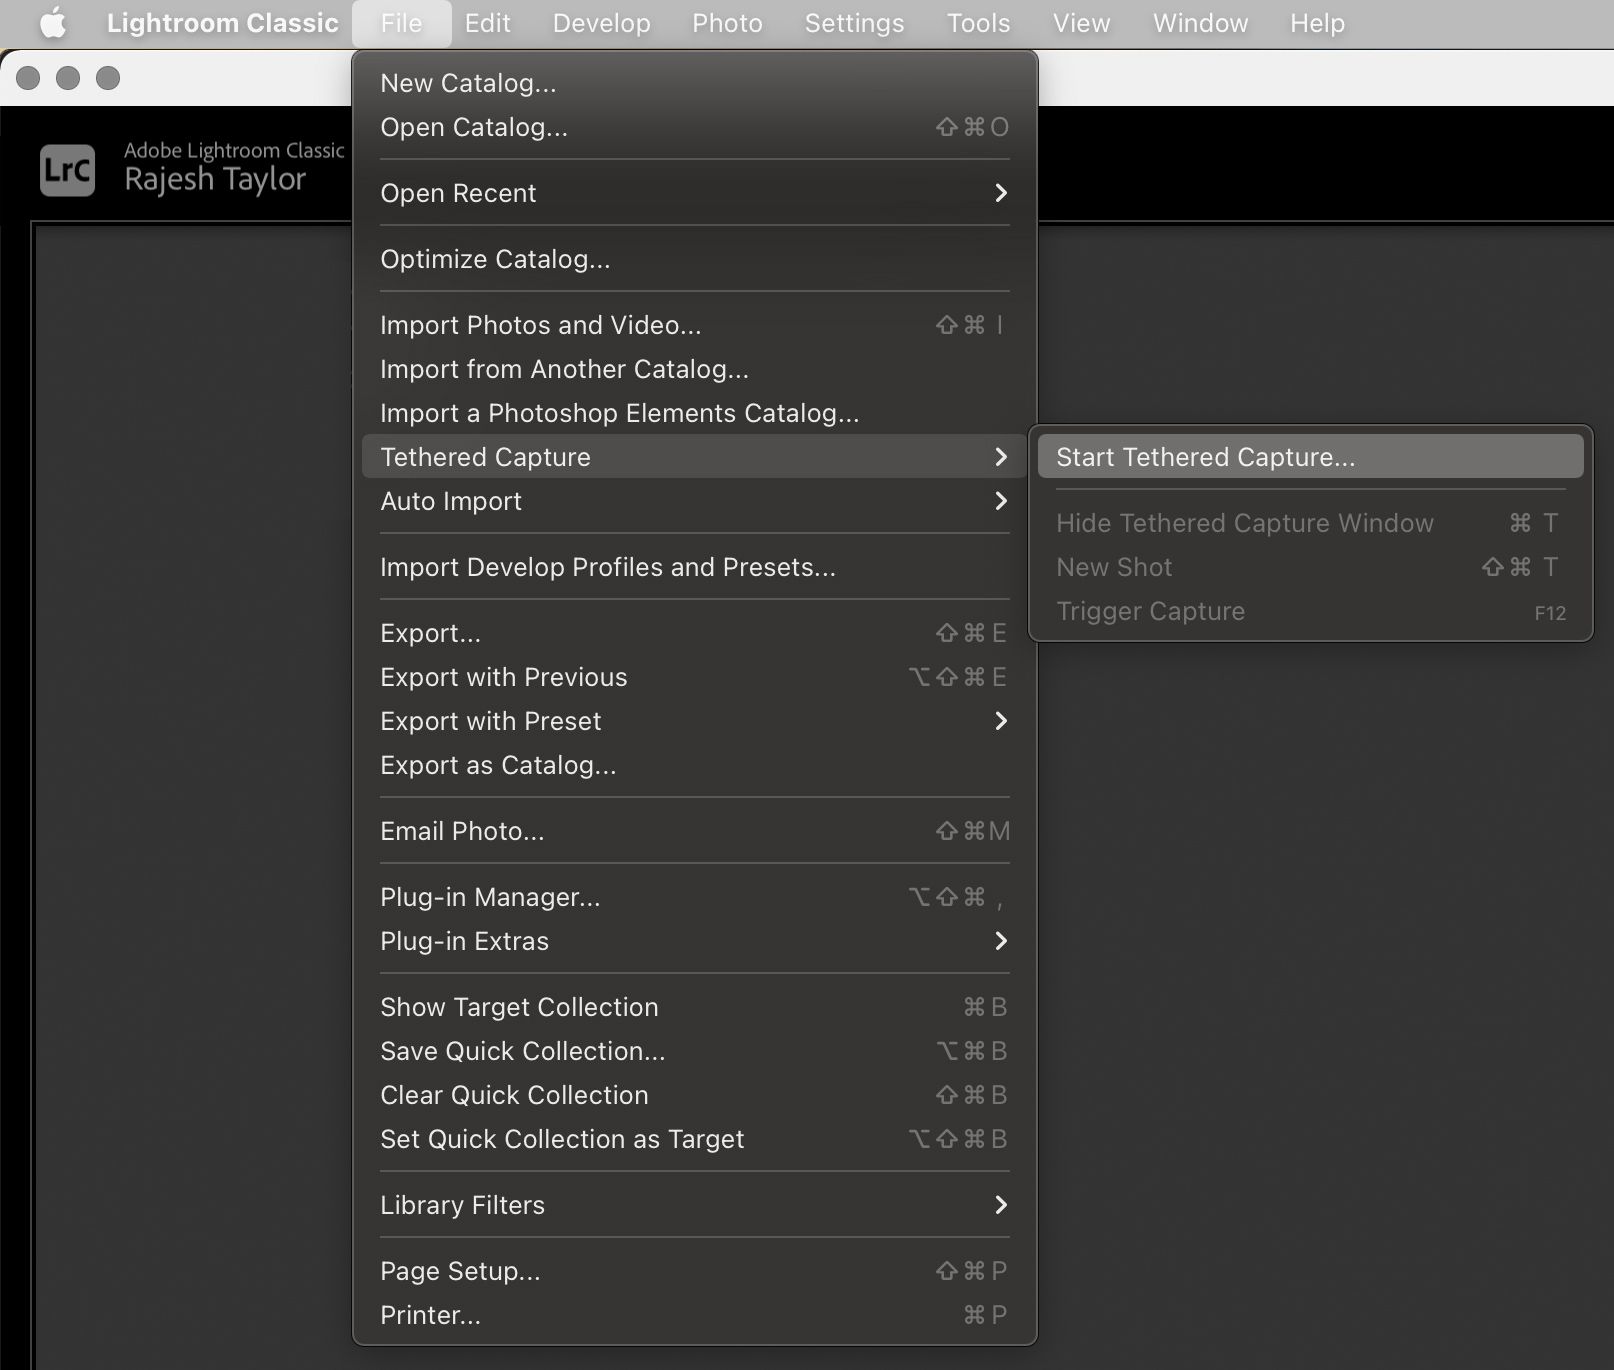
Navigate to File > Tethered Capture > Start Tethered Capture.
The Tethered Capture Settings dialogue box will appear. Enter a name for the Session. The files will have this naming convention. I have named it Tether-Test-Home.
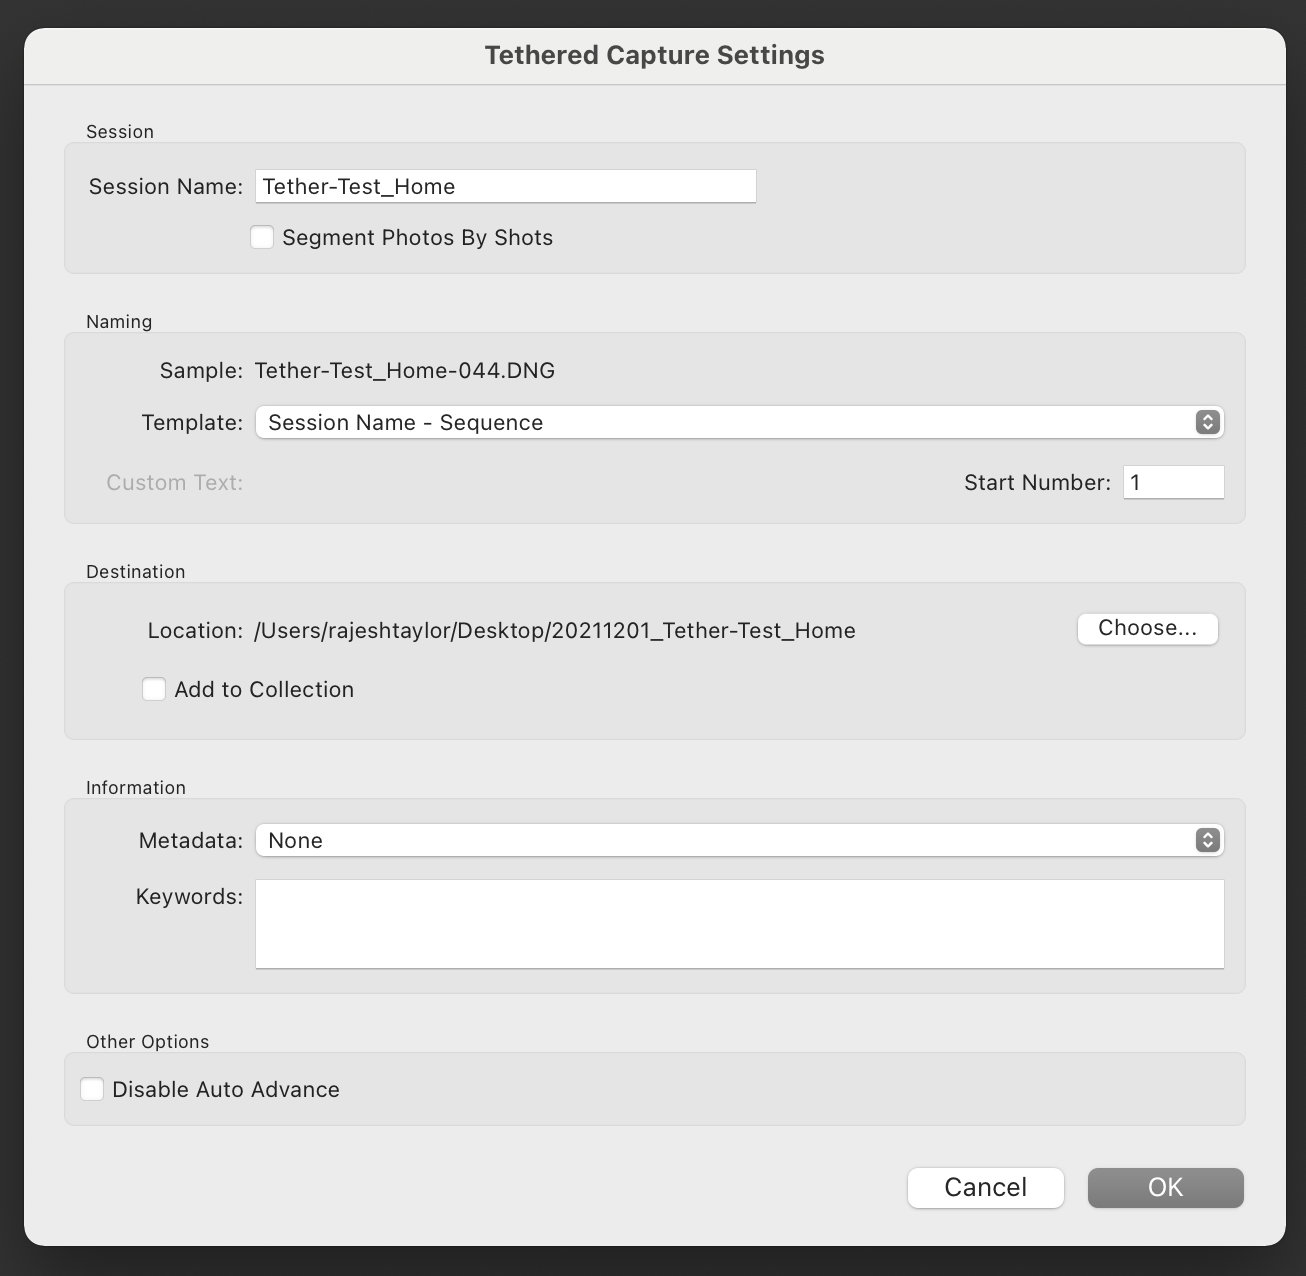
Under Naming, I leave Template to Session Name - Sequence. This adds the numbering at the end of the file name - Tethering-Test_Home-01. Remember to reset the Start Number on your next tethered shoot so the sequence begins at 1 again.
Then press Choose... under Destination and create a new folder on the Desktop so the captured files are placed in the most obvious location. I do not edit on the same machine I use to tether, so use the filing system that works for your cataloguing system.
I prefix the folder name with the year, month and day:
yyyymmdd_Name-of-Client_Location
I leave Metadata and Keywords empty at this stage, a personal choice. I add this onto the final jpeg's after the edits are exported using Adobe Bridge: Tools > Create Metadata Template. If a previous template already exists its: Tools > Append Metadata.
Shooting Tethered
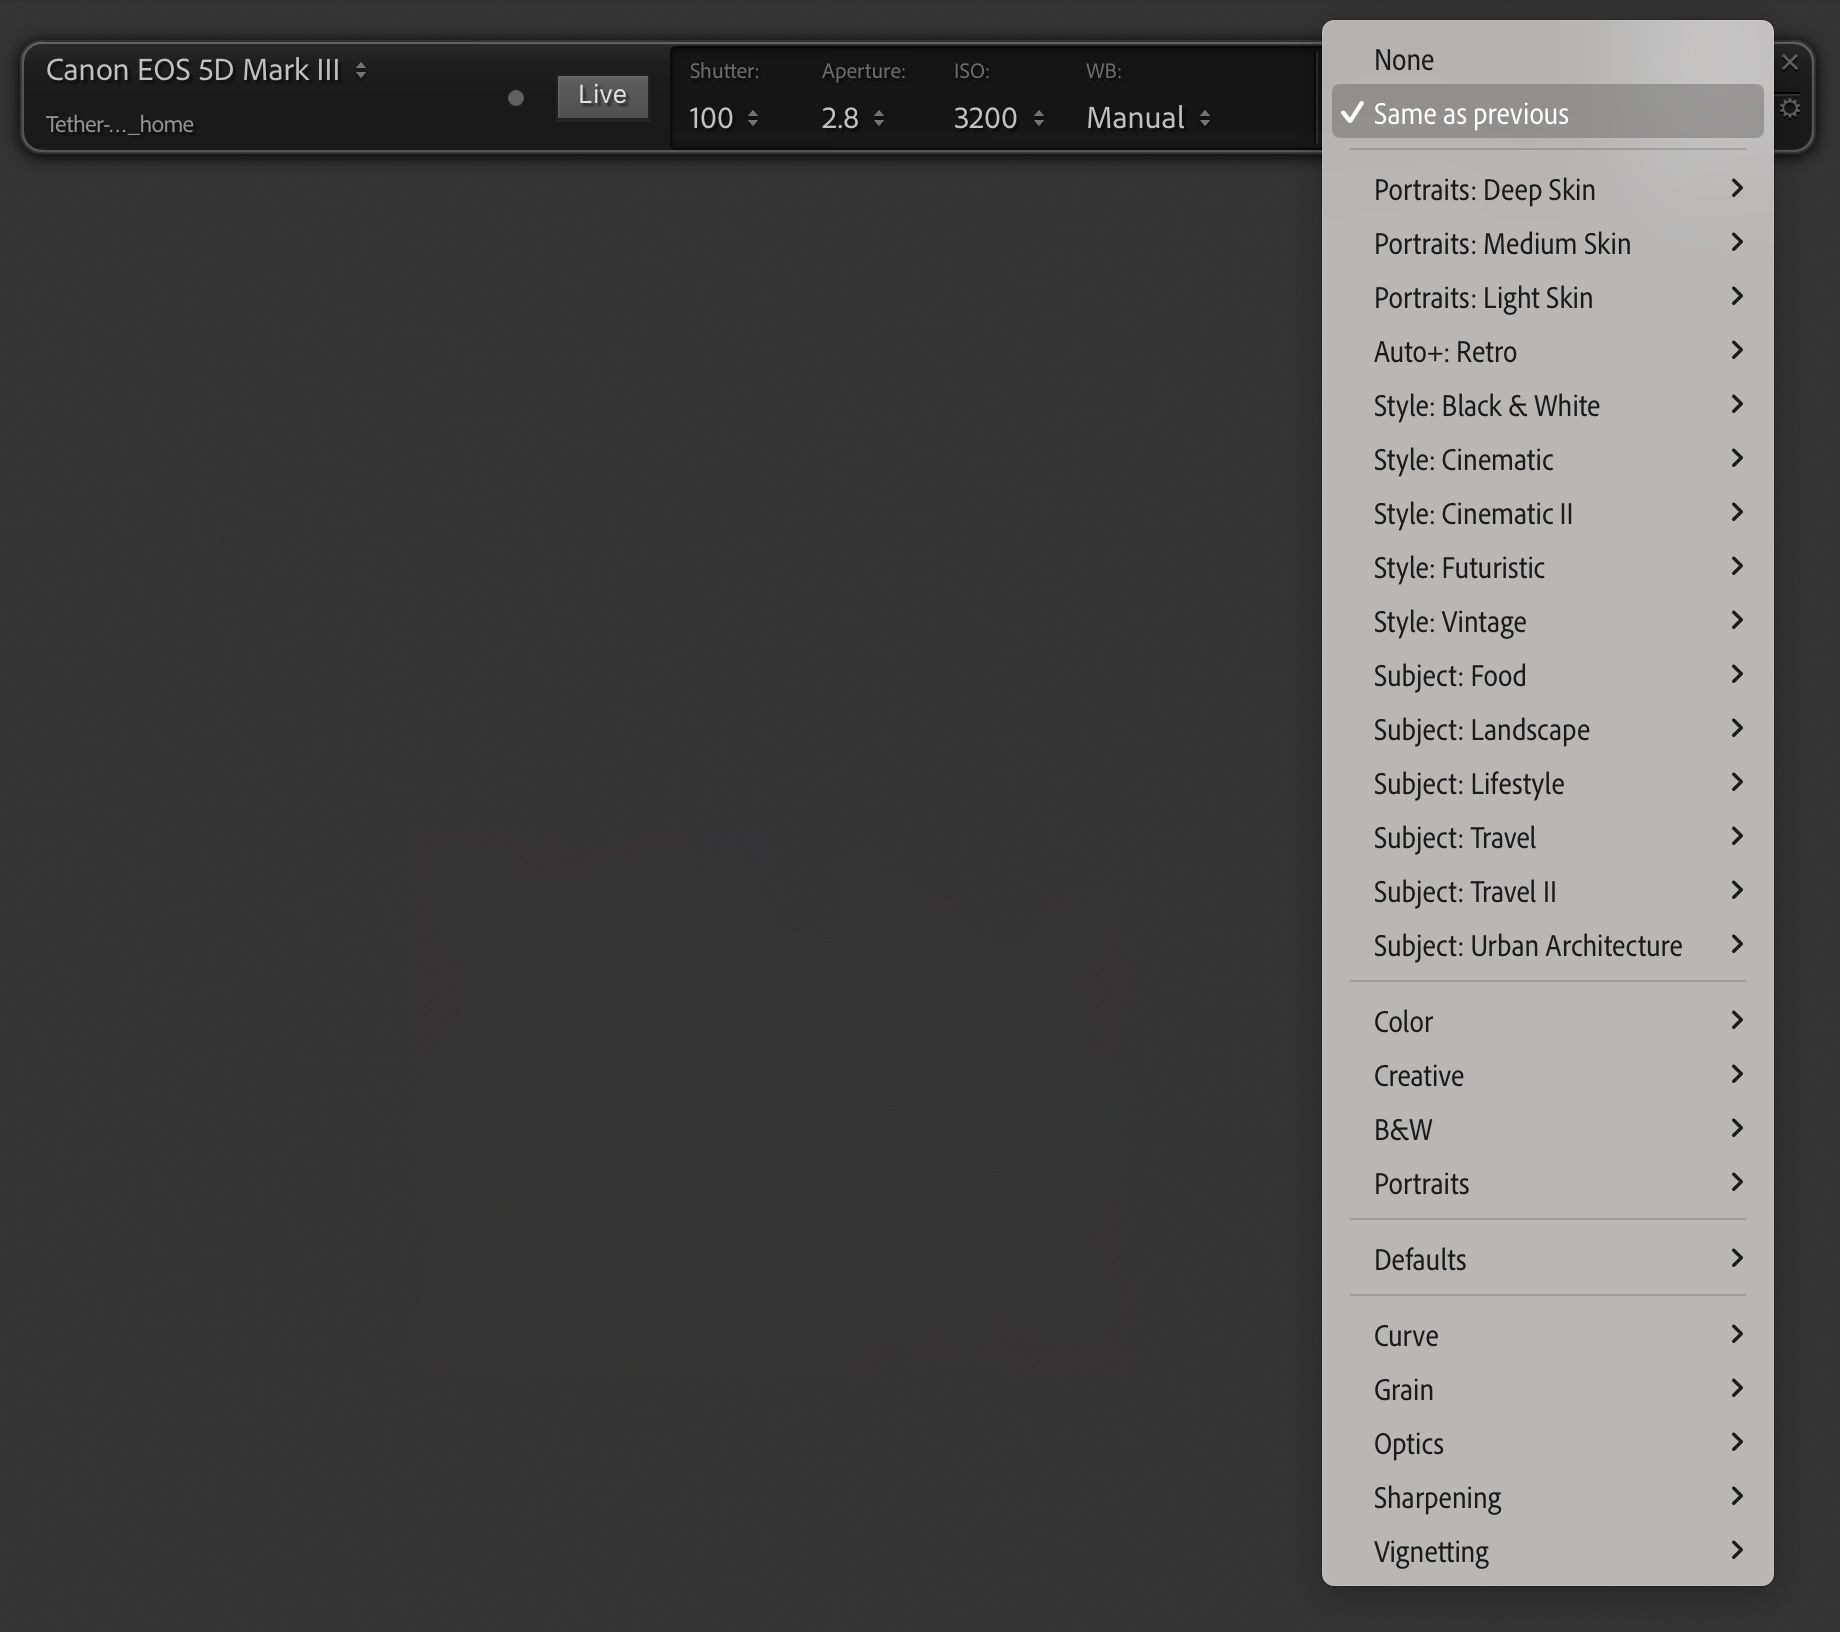
Once you have navigated to start tethering, Lightroom will look to detect your camera. A floating dialogue box will appear. Here you can change the camera's shutter speed, aperture, ISO and white balance settings as well as applying any changes made to the current photo file in the Develop Module to the next shot.

From left to right: Your camera's model will be displayed when Lightroom has detected it. I recommend adjusting your camera auto-sleep mode to off. If you take a break from shooting (e.g. set change or lunch) Lightroom will lose the connection to the camera.
If you're applying tethered shooting on location for the first time charge up your spare batteries and a battery charger, and have them ready to go. If the shoot is short and has no breaks (i.e. less than 15 minutes) you may find no need to modify the auto-sleep setting. It's your personal choice.
Underneath the camera model field is the folder name where the photo files are being saved to. In our example, it is Tether-Test_Home.
Next is "Live" highlighted in a small grey box. This feature was added to Lightroom in late 2021. As with Capture One, you now have the ability to view your camera's composition and framing on your computer screen, before the shots are taken.

To the right of this new Live button are the four camera settings - Shutter, Aperture, ISO and WB (white balance). If you have fixed your camera into position using a tripod, you only need to check the camera's battery power, then work from the tethered computer onwards.
If you're working handheld, shooting tethered will still greatly aid your workflow as you'll be able to glance, checking your photos on a larger screen. This setup allows others, possibly clients, to view (and rate) the photos in real time.
To the right of the four camera settings is Develop Settings. Here you can apply any modifications made to the current photo file i.e. contrast, exposure and HSL to the next shot taken by setting it to "Same as previous". Lightroom will automatically apply changes made to the previous file to the new imported one.
For those who use custom presets, these auto populate underneath. You may want to save certain presets for clients or setups you shoot regularly.
Next, the grey circle - is the shutter button. Your camera will fire when this is pressed.

The X to the right closes the floating dialogue box and the session. The gear icon underneath opens up the Tether capture Setting dialogue box again. Handy if you are shooting a 2nd set and want to create a new folder and keep the files separate.
Backing up on Location
I do not use memory cards in the camera whilst shooting tethered on Lightroom (or Capture One) as it dramatically slows down the file transfer when live shooting. Test the transfer speeds are acceptable if you have a USB-C cable.
I place the destination folder on the Desktop. I make a copy onto a passport drive after the shoot has finished and then transfer onto the main editing machine.
I delete the capture folder on the tethering laptop only when acknowledgment of the final edited files has been received.
Think of the capture folder on the tethering machine as a backup copy stored on a separate device in the meantime. If you're editing on the same machine, then the copy on the passport drive is you're only backup on a different device. There's nothing to lose, but much to gain by making multiple backups and then only deleting once the job is closed.
A set where using tethered shooting on location – Baker Shoes and Taylor of Old Bond Street both located in the parish of St James's, London.